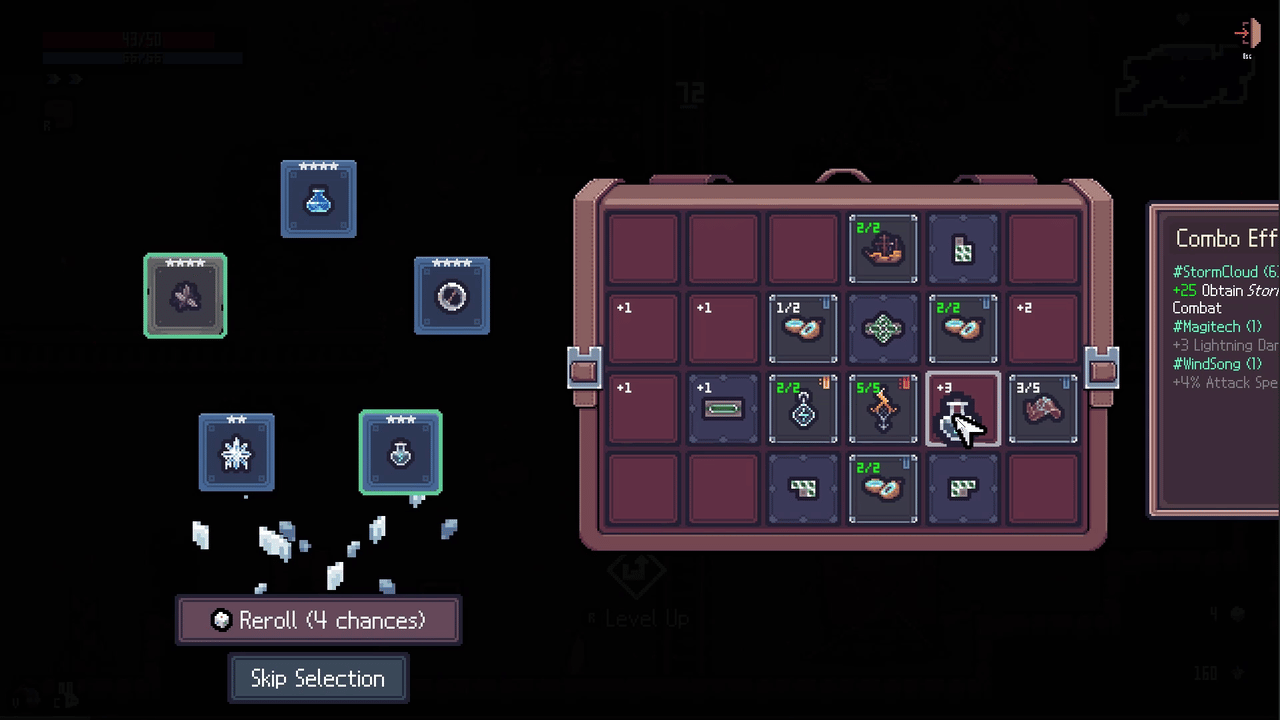
Hard Mode in Sephiria — officially called Root Decay — is a survival test. Every modifier stacks on top of the last, so your artifact lineup needs to carry you through enemy damage, reduced healing, speed spikes and DPS walls all at once.
Instead of a fabricated "S-tier" list built from items that don't exist, this guide works only with source-backed artifacts confirmed in official TEAM HORAY records. Every item below has a verified name, icon and category — and anything that is still waiting for a live-game tooltip check is clearly marked.
What Changes in Hard Mode (and Why Artifacts Matter)
Root Decay adds 18 challenge modifiers across 8 stages. By the time you reach the later stages, you are stacking enemy damage, enemy HP, reduced healing, fewer item choices and sometimes defense boosts together. Your artifact grid is the only system in the game that lets you convert raw item drops into a cohesive survival plan — which means the artifacts you choose to keep matter more than the artifacts you find.
The full list of modifiers (and how each one affects your build) is on our Hard Mode Modifiers guide. This page focuses on the artifact side of the equation: which confirmed artifacts to look for, how to group them, and which tablet pairings make sense for a Root Decay run.
Confirmed Artifacts That Carry a Hard Mode Run
Hard Mode stages draw from the same confirmed artifact pool as a normal run. Below are the source-backed artifacts most players prioritize for survival, grouped by the role they play in a Root Decay build. The full artifact database lists every confirmed item.
| Artifact | Category | Role in Hard Mode | Verification | |
|---|---|---|---|---|
 | Shield Earrings | Defensive | Direct survivability — helps absorb the extra damage from Violent Claw and trap spikes. | Name & icon verified |
 | Shieldmate | Defensive | Companion-style defensive support; useful when you need extra breathing room against fast or many enemies. | Name & icon verified |
 | Shield Bag | Defensive | Additional defensive layer; especially helpful in Proliferation runs where more enemies means more chip damage. | Name & icon verified |
 | Frozen Egg | Ice | Crowd control via freezing — counters Swift Claw and high-density rooms from Proliferation. | Name & icon verified |
 | Eternal Winter | Ice | Wide-area ice pressure — pairs well with other ice artifacts to build a control route for Hard Mode. | Name & icon verified |
 | Electro Chakram | Lightning | Sustained lightning DPS that helps break through Tough Body and Protective Armor walls. | Name & icon verified |
 | Crimson Sunset | Elemental | Elemental core artifact — pairs with fire / solar builds for burst against bosses with Combat Posture. | Name & icon verified |
 | Devotion Insignia | Utility | Utility buff that helps with consistency — useful when Vertigo reduces your selection options. | Name & icon verified |
 | Chalcedony Key | Utility | Economy / utility artifact — helps offset the Merchant negotiation penalty from Severed Connections. | Name & icon verified |
 | Hand Mirror | Utility | Utility / reroll-style effect — helps you re-roll bad drops when Plunder reduces tablet quality. | Name & icon verified |
Pick by What Your Run Actually Needs
There is no universal "best artifact" for Hard Mode — the right pick depends on which modifiers are active and which weapon you are using. Below is a decision framework you can apply to any Root Decay stage:
If you see Violent Claw or Machine Rebellion
Prioritize defensive artifacts and anything that adds flat mitigation. The extra spike damage from traps and projectiles adds up quickly; Shield Earrings and Shield Bag are reliable picks. Pair with the Endurance talent route if available.
If you see Tough Body or Protective Armor
You need DPS, not more defense. Lean into elemental artifact lines (ice, lightning, fire) that can stack pressure even when enemy HP or defense is inflated. Staff builds handle these modifiers better than pure melee because elemental chains bypass part of the defense curve.
If you see Swift Claw or Proliferation
Crowd control wins. Ice artifacts like Frozen Egg and Eternal Winter slow or freeze enemies, giving you breathing room in dense rooms. A well-placed Wave tablet can also turn single-target artifacts into area control.
If you see Degeneration or Deterioration
Reduced healing means you cannot rely on potions and level-up healing to bail you out. Defensive artifacts and steady play matter more than greedy DPS picks. Avoid glass cannon setups unless you are very confident in your dodging.
If you see Vertigo or Plunder
You have fewer choices and lower quality drops. Utility artifacts that improve your selection economy become more valuable — this is where Chalcedony Key, Devotion Insignia and Hand Mirror earn their keep.
Tablet Pairings for Hard Mode
Tablets are the modifiers you place on the inventory grid to empower artifacts. Six source-backed tablets are confirmed so far; the full tablet pool (~70 in Sephiria 1.0) is still being documented. For Hard Mode, the most useful confirmed tablets are:
 Nurture
 Competition
 Wave
 Trick
 Preparation
 Daydream
For a Root Decay run, think of tablets in three roles:
- Survival tablets — anything that buffs defensive artifacts. Use these to shore up the damage spike from Violent Claw or Machine Rebellion.
- DPS tablets — anything that amplifies your main damage route. Pair with your elemental core to break through Tough Body / Protective Armor walls.
- Economy tablets — anything that improves your selection or grid options. These are more valuable when Vertigo or Plunder are active.
See our Tablet Placement Guide for verified grid rules, and the Artifact Database for the complete source-backed catalog.
Common Hard Mode Artifact Mistakes
1. Greeding DPS when the modifier is damage-based
When Violent Claw or Machine Rebellion are active, adding one more damage artifact usually does not help you survive. The winning move is to trade a DPS slot for a defensive one and keep yourself in the fight long enough for your build to pay off.
2. Ignoring element synergy
Artifacts and tablets that share the same element tag reinforce each other. Scattering your picks across five different elements gives you no strong route. Pick one main element early and build around it.
3. Overfilling the grid
It is tempting to grab every artifact you see, but poorly placed items cannot be covered by tablets and do not contribute to combo lines. It is better to have a smaller, well-organized grid than a full grid with no synergy.
4. Forgetting that Hard Mode has more stages
A normal run ends after the final boss. A Hard Mode run keeps going, and the modifiers keep stacking. Artifacts that help in the early game (like pure damage picks) can become liabilities when you hit stages with Degeneration or Deterioration. Build for the later stages, not the first one.
Frequently Asked Questions
Is there a single "best" artifact for Hard Mode?
No. The best artifact changes depending on which modifiers are active, which weapon you are using, and which other artifacts you already have. Use the decision framework above to pick based on your actual run.
How many artifacts should I keep on the grid?
Quality beats quantity. It is better to have 6–8 well-placed artifacts with strong tablet coverage than 12+ artifacts scattered across the board with no synergy.
Should I reroll for specific artifacts?
Rerolling is worth it when you are missing one piece of a clear build — for example, one more ice artifact to complete your control route. It is not worth it when you do not yet know what you are building toward.
Do defensive artifacts stack?
Defensive artifacts work alongside each other, but the exact stacking values are still being verified against the live build. We will publish precise numbers once we can confirm them in-game.
Where can I see all confirmed artifacts?
Our Artifact Database lists every source-backed artifact, tablet and weapon upgrade confirmed from official TEAM HORAY records. We add new entries as official updates are released.
Further Reading
- All 18 Hard Mode Modifiers — the complete Root Decay list with counter strategies.
- Hard Mode Tier Progression — what unlocks at each stage and how to plan ahead.
- Inventory Grid System Explained — placement rules, combo lines and how the board works.
- Tablet Placement Guide — maximizing artifact power with verified grid rules.
Game data sourced from community gameplay and official TEAM HORAY records. Game images © TEAM HORAY. Used under fair use.