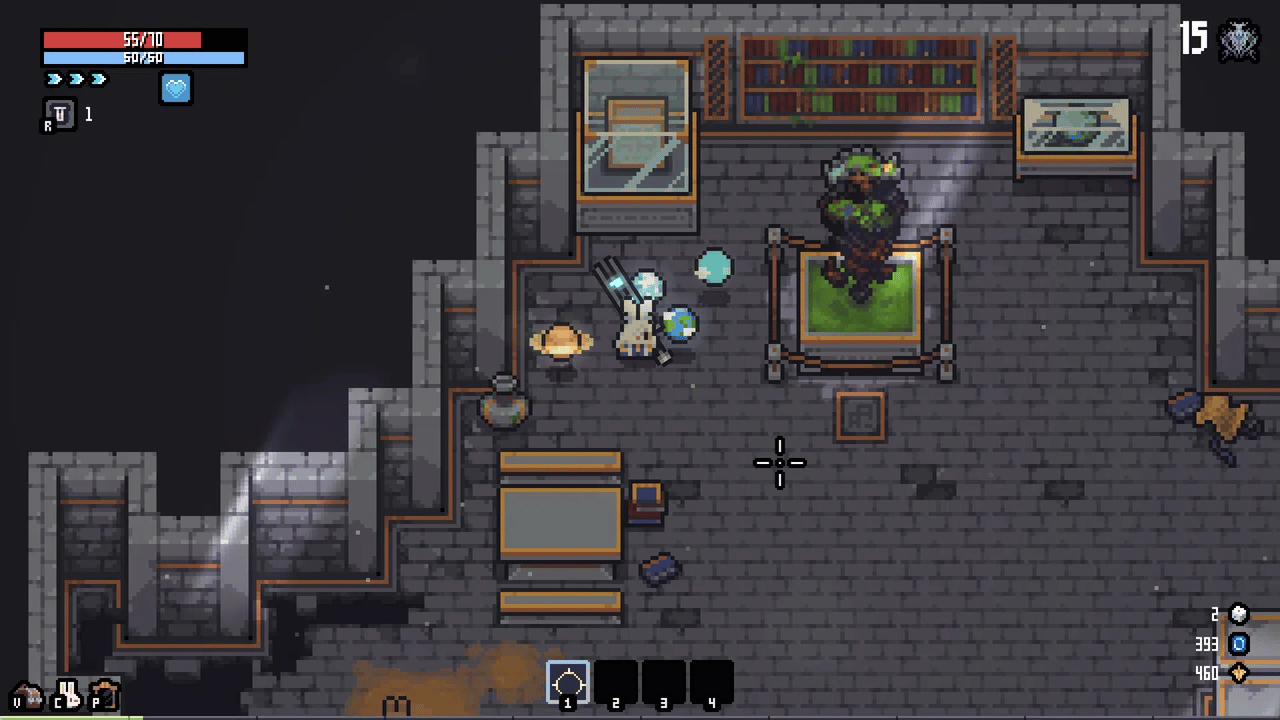
Sephiria's six chapters each close on a boss that behaves like a pattern exam, not a gear check. Almost every lethal move is announced with a red laser line, an arc, or a ground marker, and your job is to answer that tell with movement or the RMB dodge/parry. The campaign ships more than ten unique bosses plus optional route elites (mini-bosses), and a bad inventory grid will make even the first chapter feel unfair while a good one carries you through chapter four with commons.
This page names every chapter finale by its real in-game name, explains what each fight is actually testing, and gives the loadout habits that turn a wipe into a clear. If you only remember one line from it: the boss is rarely the problem — the empty cells on your grid usually are.
Every Chapter Boss at a Glance
| Ch. | Biome | Boss(es) | Signature threat | What the fight tests |
|---|---|---|---|---|
| 1 | Mole Base | Blackhand Mogdi, Ordner, Haj remnants | Arcing dynamite, fan barrages, three-eye gaze beams | Reading red laser tells |
| 2 | Grassland | Lataka, Lerid | Bullet-hell barrages, shadow-sword dash-ins | Ranged spacing vs melee commitment |
| 3 | Library | Erma, Pantaxis | Multi-hitbox golem, wall-bounce and rotating lasers | Target priority and invuln windows |
| 4 | Wasteland | Askard | Omnidirectional projectiles, arena spacing | Blocking and control of open ground |
| 5 | Root Cave | Cobes, Kraz, Qliphoth | Add pressure, burst-melee lanes, safe zones | Resource discipline |
| 6 | Campaign climax | Final Boss | Dense telegraphs, add phases, DPS checks | Everything the first five taught |
Optional mini-bosses sit on side routes rather than at chapter doors. They hand out faster XP and bonus loot at the cost of time and HP, so treat them as a routing decision: take one when your grid still has room to grow, skip it when you are already carrying a boss-ready loadout.
Telegraph Fundamentals (Learn These Once)
Bosses reuse a small family of tells and simply increase speed and density as chapters go up. If you can name the tell, you already know the answer:
- Line beams — dodge perpendicular to the beam. Backing straight up just walks you into the arena wall and the next beam.
- Arc sweeps — create distance or parry if your weapon has a guard (Sword & Shield, Katana, Quarterstaff).
- Multi-hit chains — survive the first three hits, then punish during the recovery, not between them.
- Add phases — kill the adds that unlock the boss's vulnerability window first. Ignoring them usually triggers a soft enrage overlap.
- Ground markers — for delayed detonations, move on the impact frame, not during the wind-up.
Chapter 1 — Mole Base
The Mole Base mixes narrow corridors with open pits and is designed to teach one habit: dodge perpendicular to beams instead of retreating into a wall. Merchants and reroll stops appear between combat clusters. Bring at most one health Potion while learning — chapter one DPS checks are mild, and discipline beats chugging.
Blackhand Mogdi — two-phase mole chief
The signature first finale. Phase one mixes slow melee swings with ground telegraphs that are readable as long as you stay off the boss hitbox and use dodge i-frames rather than panic-rolling into a corner. Phase two raises speed and stacks overlapping tells. Treat the transition as a lesson in patience: watch for the animation that signals the shift, reset your spacing, and do not burn Miracles early. Sword & Shield and Katana players can practice parry timing here with far less punishment than later chapters.
Ordner — the demolition expert
Ordner behaves like a blasting specialist and punishes anyone staring at a damage meter. Expect arcing dynamite throws with landing markers, bouncing bombs that roll along lanes (treat the floor like a grid to route around), landing explosions after jump slams, and fan barrages that fill a whole horizontal band. The counter is geometry, not damage: move out of markers before detonation, dodge perpendicular to the fan's axis, and respect melee range even on ranged weapons because his dash-jump closes distance fast.
Haj remnants — three-eye gaze
Haj remnants are the alternate chapter-one boss variant built around three eyes and multi-directional gaze attacks. Overlapping beams mean you must identify which eye is currently active before committing to a punish window. One routing warning: from chapter four onward, Haj-themed replacements can appear on routes that used to feature earlier bosses, remixing familiar patterns at higher density — so do not assume chapter-one muscle memory equals chapter-four spacing.
Chapter 2 — Grassland
The grassland finales split players by weapon. This is the first chapter where the gap between ranged and melee is genuinely felt, and where a scattered grid starts costing you real time.
Lataka — bullet-hell barrage
Lataka is a melee nightmare and a ranged player's comfort zone. The fight floods the screen with projectiles, so the answer is to hold a firing lane and weave between volleys rather than chase. Melee builds need to identify the gaps between barrages and commit only during the recovery that follows a full spread. A sustain tablet line turns this from a survival check into a rhythm exercise.
Lerid — shadow-sword assassin
Lerid replaces the straightforward brute with an assassin archetype that closes distance with shadow-sword dashes. He is the chapter's test of forward spacing: sidestep the dash instead of retreating, because retreating keeps you inside his follow-up. Guard-capable weapons get real value here, and Crossbow or Staff players should keep their back to open ground rather than a wall.
Chapter 3 — Library
The Library introduces multi-hitbox bosses, which changes the question from "how do I dodge" to "what do I hit first". Target priority matters more than raw damage here.
Erma — three-phase golem
Erma is a three-phase golem built around segmented body parts with separate head and hand hitboxes, plus missiles and lasers. The opening phase is slower missile volleys and ground telegraphs; the fight escalates roughly three times as it progresses. Because parts must be damaged in sequence, greedy damage on the wrong limb wastes your window. Learn which projectiles you can dodge and which must be blocked if you run Sword & Shield, then use the phase transitions to reposition rather than to squeeze in extra hits.
Pantaxis — bouncing guardian
Pantaxis is the chapter's guardian fight: a boss that bounces off walls, cycles through invulnerable phases, and fires rotating lasers. The rotating laser forces you to orbit rather than stand, and the wall-bounce means hugging the arena edge is a trap. Stay near the centre, track the rotation direction, and hold your burst for the invulnerability windows to close.
Chapter 4 — Wasteland: Askard
The wasteland finale opens the arena into desert space and escalates a cult order across the chapter before delivering Askard, an Anubis-like beastman cult leader. Askard leans on omnidirectional projectiles, which were specifically improved for blocking in patch 1.0.21 — if you run a guard weapon, re-test your block timing, because the fight was tuned to reward it. Open ground means spacing is your resource: keep Askard from pinning you against a dune and rotate around him rather than straight back.
Chapter 5 — Root Cave: Cobes, Kraz, Qliphoth
Chapter five is a three-layer exam — add discipline, then lanes, then safe zones — and it gates your chapter-six readiness. Its geometry is tighter than the wasteland and add-heavy throughout.
Cobes — add pressure and zone control
Cobes teaches add discipline: ignoring the minions triggers overlapping soft-enrage patterns. Assign targets early — solo players clear the adds that block the boss's vulnerability window, and co-op teams should hand that job to a ranger. Stay central, because cave edges clip the rotation telegraphs the same way Pantaxis's did but with less light. Crucially, do not spend every Potion here; if Cobes drains your consumables, reset before Kraz rather than limp into Qliphoth empty.
Kraz — burst melee and lanes
Kraz shifts toward fast melee chains and projectile lanes that punish wall-hugging. The rule is sidestep, not retreat — backpedaling into a corner hands him the fight. Crossbow and Staff players need to maintain forward spacing instead of kiting backward. Proc sustain from a coherent combo line stabilizes the longer Kraz routes, which is exactly where a rainbow grid falls apart.
Qliphoth — safe-zone finale
Qliphoth combines safe-zone mechanics, multi-phase transitions, and a cutscene-heavy phase three. Patch 1.0.23 fixed safe-zone projectile damage and phase-three cutscene cleanup, so update before you blame yourself for "unfair" hits — pre-patch, intended safe areas could take damage. Inside a safe zone, still respect external lanes, because not every attack honours the geometry. Burst during the vulnerability window after a long channel; this is the natural spot for a Side Bag swap.
Chapter 6 — The Final Boss
The campaign climax compresses every lesson: dense telegraphs, add phases, and hard DPS checks in one arena. Nothing here is mechanically new — it is chapters one through five at maximum density. If you wipe twice on the same phase after a clean Qliphoth, the fix is almost never "get better hands"; return to the inventory grid and your Destiny Inscription survival nodes before a third attempt.
Boss Prep Checklist
Run this before any chapter finale, not just the last one:
- Grid audit — no dead cells. Preview rotations with Q/E before you enter the arena door.
- Tablet line online — even a modest proc beats raw stat stacking. See the Tablet Placement Guide.
- Miracle and Potion kit — one burst plus one emergency heal or cleanse.
- Side Bag swap — park boss-specific pieces off-grid and slot them before the door.
- Inscription check — survival nodes purchased; offense vanity can wait.
Hard Mode Boss Layer
Hard Mode stacks elemental modifiers on top of each boss's existing kit. This is why cleanse Miracles and elemental tablets move from "nice to have" to mandatory — an off-element grid that cleared Normal will stall on the same boss in Hard. Attempt Hard chapter six only after the Normal patterns are muscle memory; the goal of Hard is to reuse a plan you already trust, not to relearn the fight.
When to Reset Instead of Push
Roguelites reward knowing when to walk away. Reset the run before the boss door if:
- Your grid has three or more dead cells.
- Your primary tablet line never activated.
- You burned all Potions learning earlier chapters on this run.
- In co-op, the party's inscription gap is too large to cover.
Banking Sapphires with a clean early reset beats slamming into a phase check you cannot meet.
Co-op Boss Notes
Core patterns match solo, but visual clutter rises fast with four players. Assign roles before the door: a frontline that holds aggro (Sword & Shield), an add controller (Crossbow or Staff), and a reviver who stays out of overlapping telegraphs. Call compass directions during fan and beam phases. Remember that online co-op has no host migration, so a disconnect near a boss kill hurts most — finish attempts on a stable connection. See the Co-op Build Guide for full team compositions.
Boss FAQ
Who are the chapter bosses in Sephiria?
Chapter 1 (Mole Base): Blackhand Mogdi, Ordner, and Haj remnants. Chapter 2 (Grassland): Lataka and Lerid. Chapter 3 (Library): Erma and Pantaxis. Chapter 4 (Wasteland): Askard. Chapter 5 (Root Cave): Cobes, Kraz, and Qliphoth. Chapter 6: the campaign final boss. Optional mini-bosses appear on side routes.
Are boss patterns the same in co-op?
The core tells match solo, but four players increase clutter and overlapping telegraphs. Use role assignments and compass callouts, and spread out during fan and beam phases.
Do Hard Mode bosses add new mechanics?
Hard Mode overlays elemental modifiers on top of the existing boss kits rather than replacing them. Cleanse tools and elemental tablets become essential rather than optional.
Should I fight the optional mini-bosses?
Take a mini-boss when your grid still has room to grow and you want the extra XP and loot. Skip it when you are already carrying a boss-ready loadout and the detour would cost HP you need for the finale.
Game data sourced from community gameplay, patch notes, and wikis (ssephiria.wiki, sephiria.net). Game images © TEAM HORAY. Used under fair use.