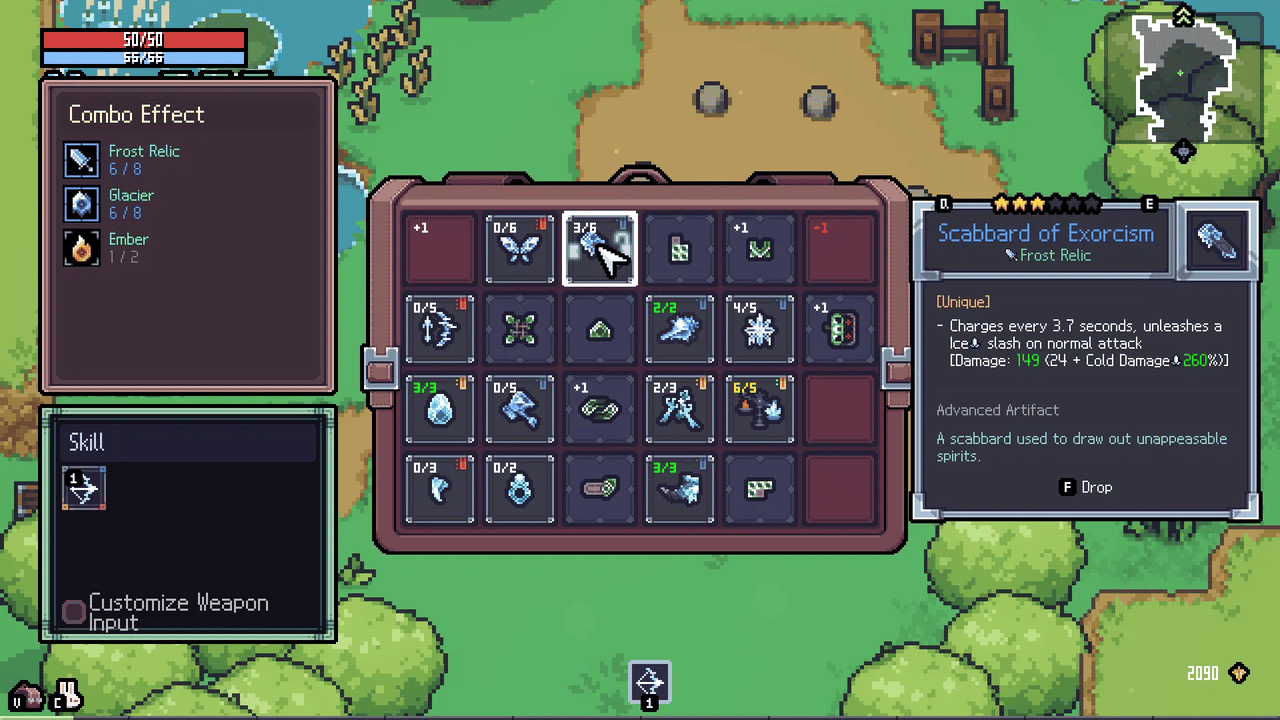
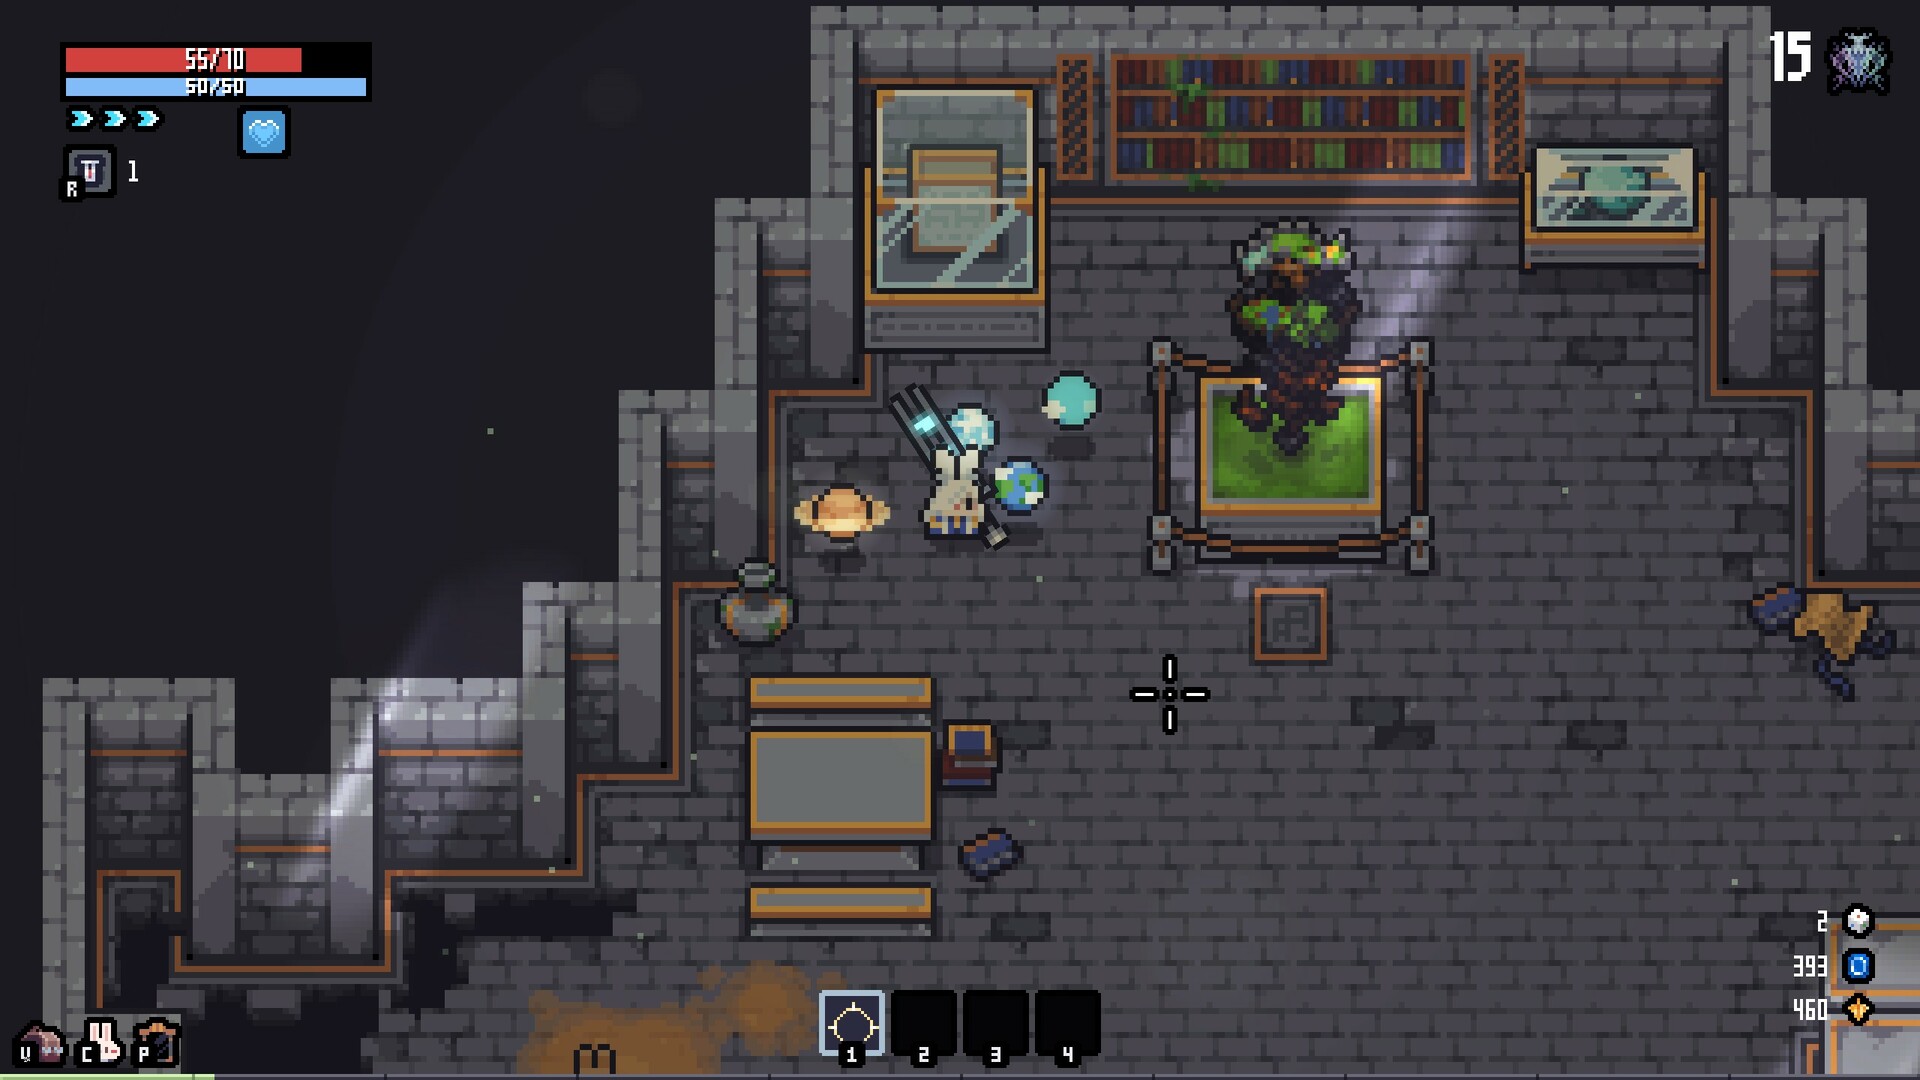
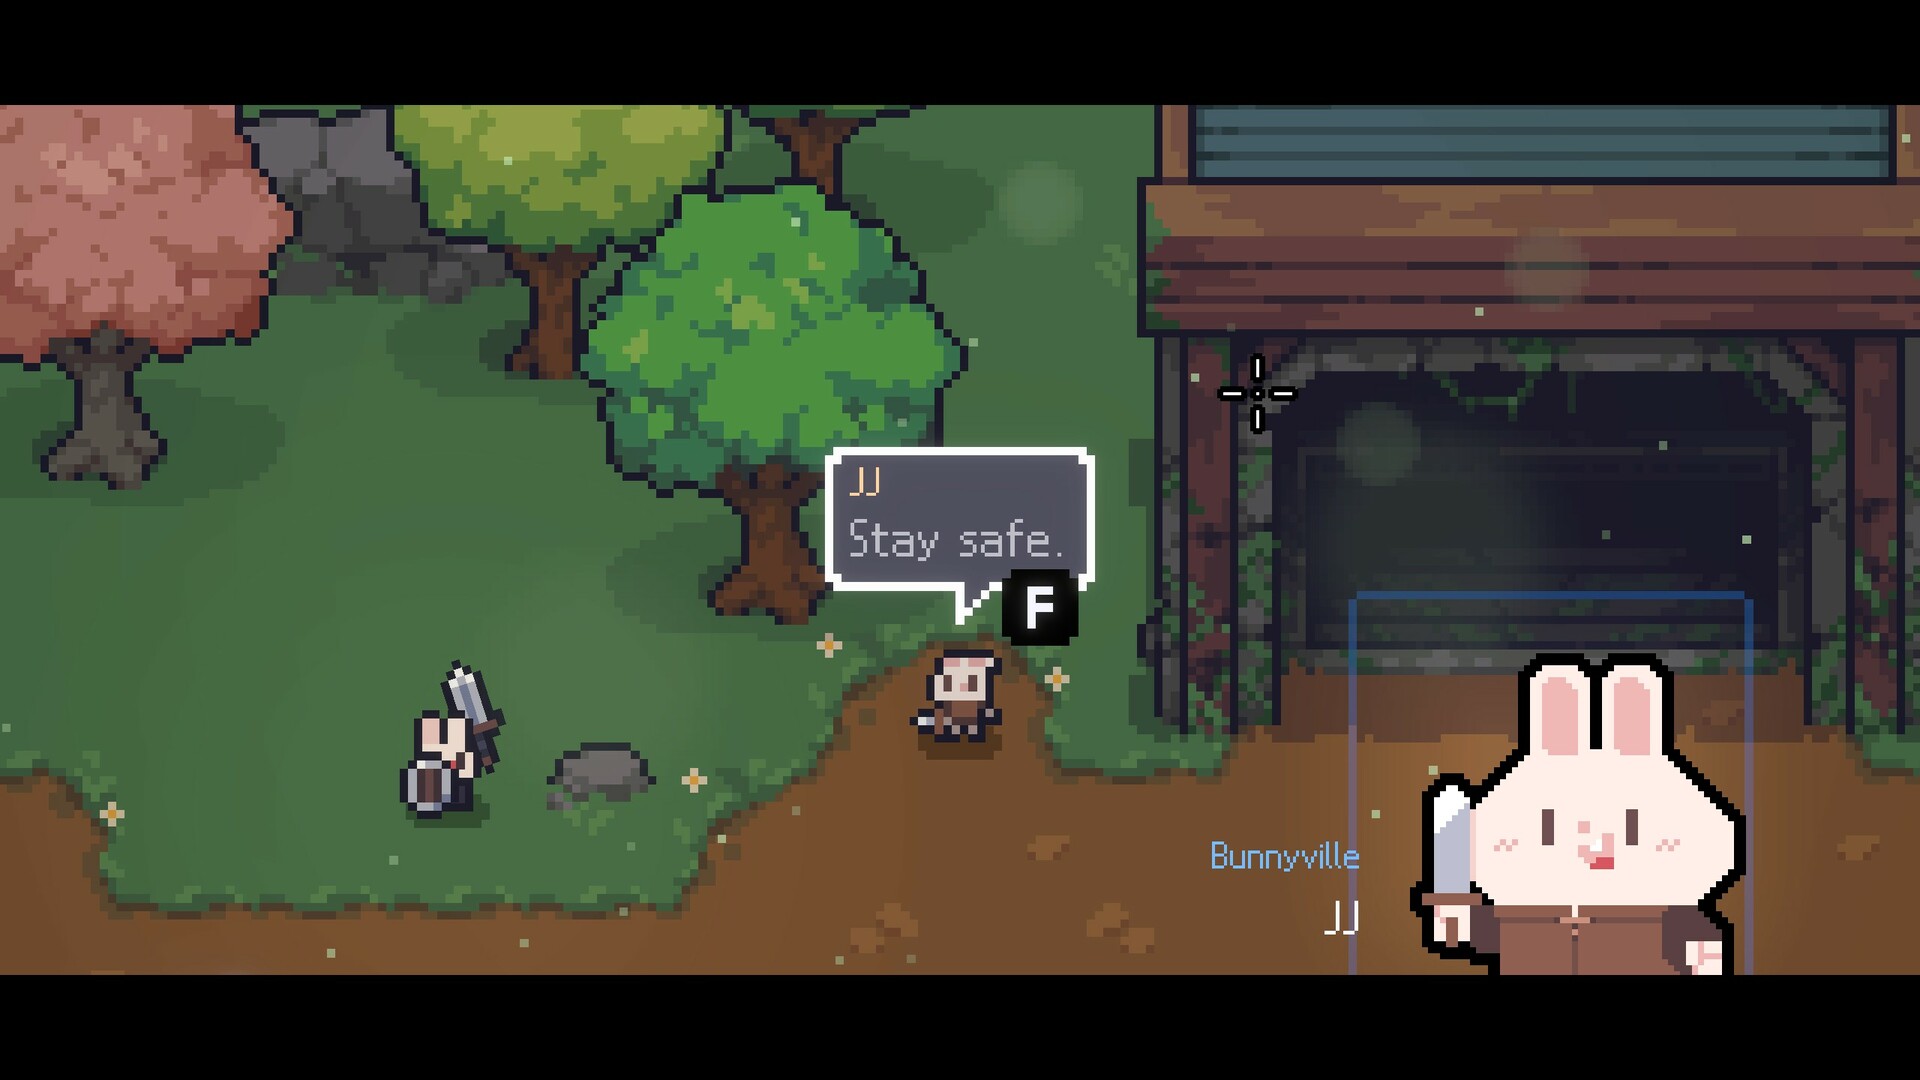
Complete walkthroughs, builds, artifact combos, and boss strategies for Team Horay's action roguelite.
Hard-to-find content you won't see on other guide sites
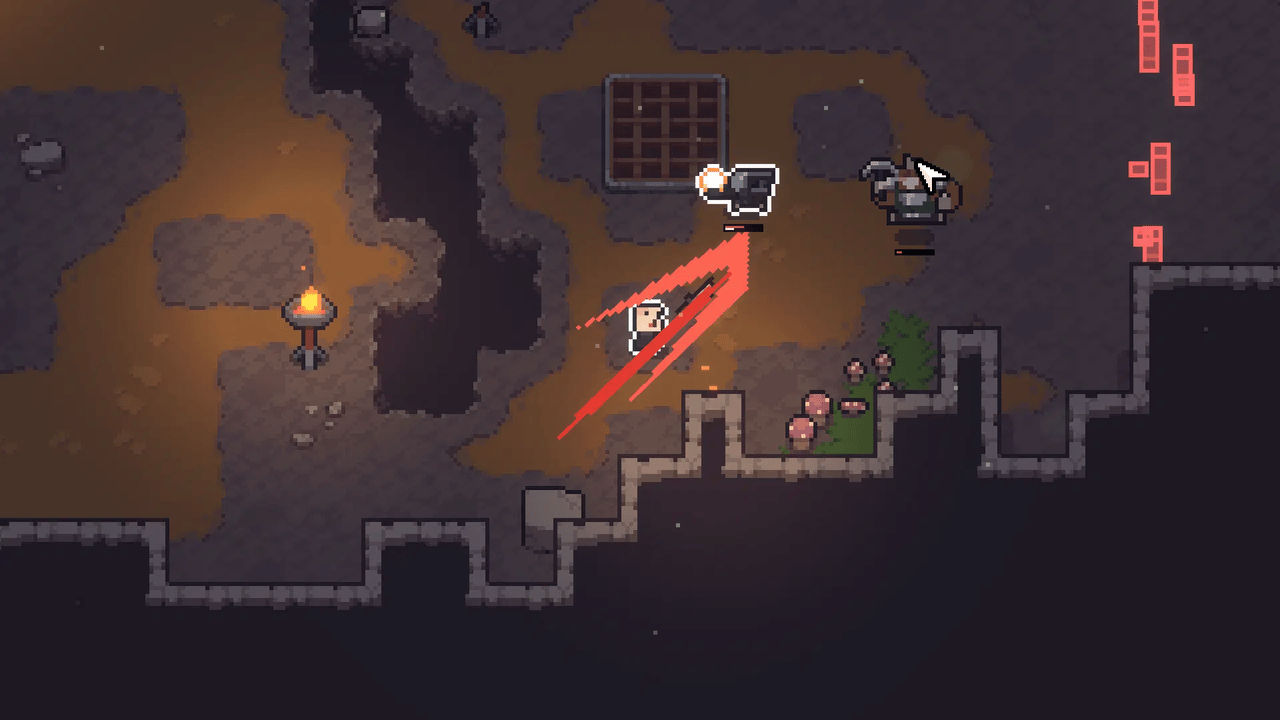
Every Hard Mode modifier with its effect and counterplay, plus how they stack as you push deeper.
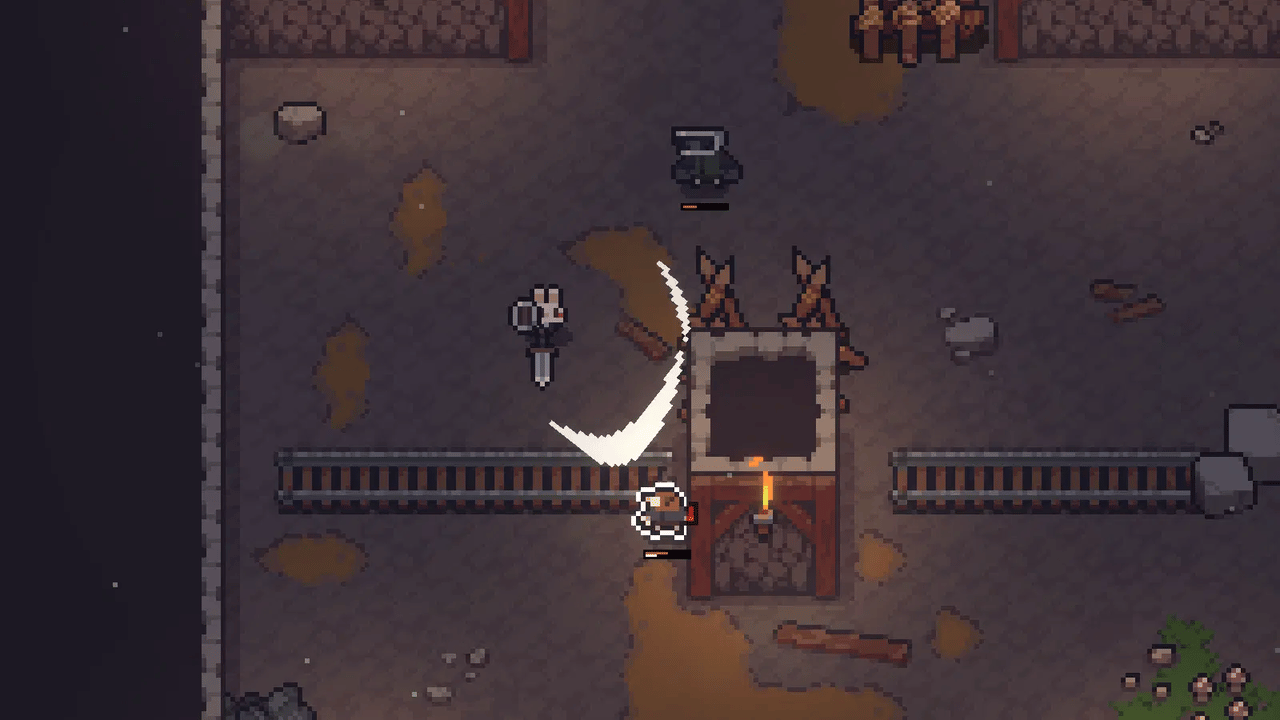
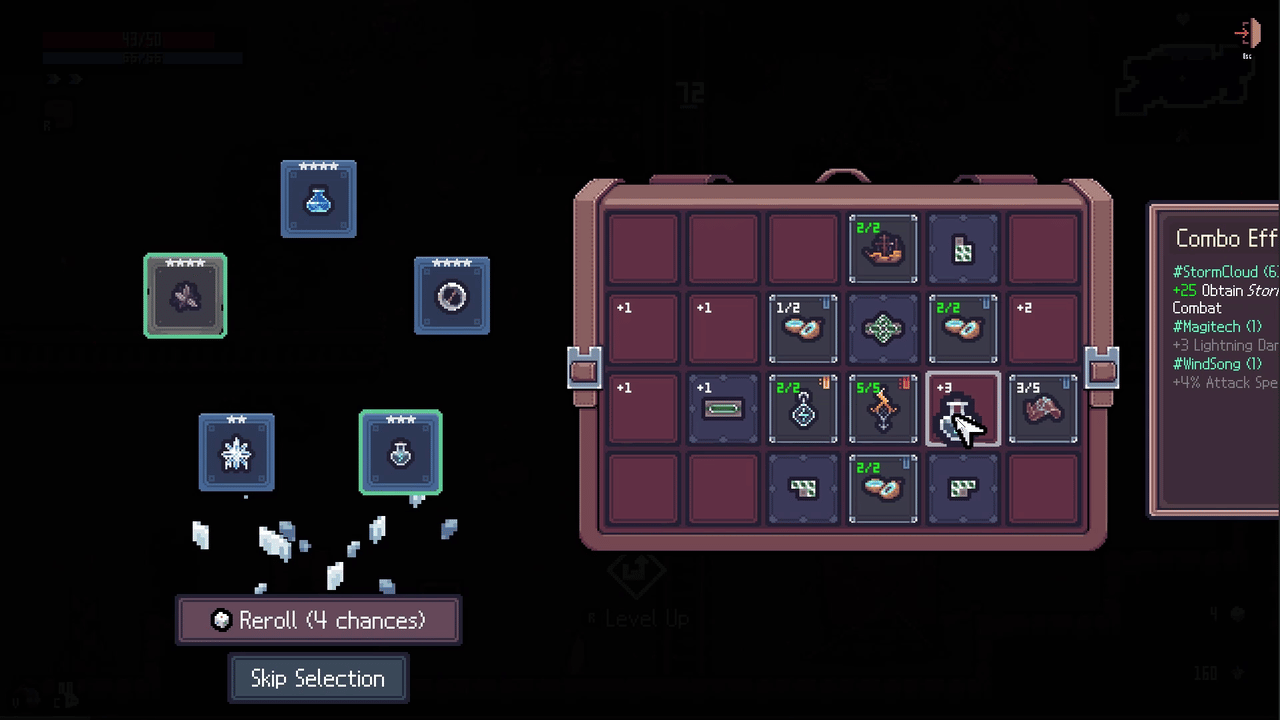
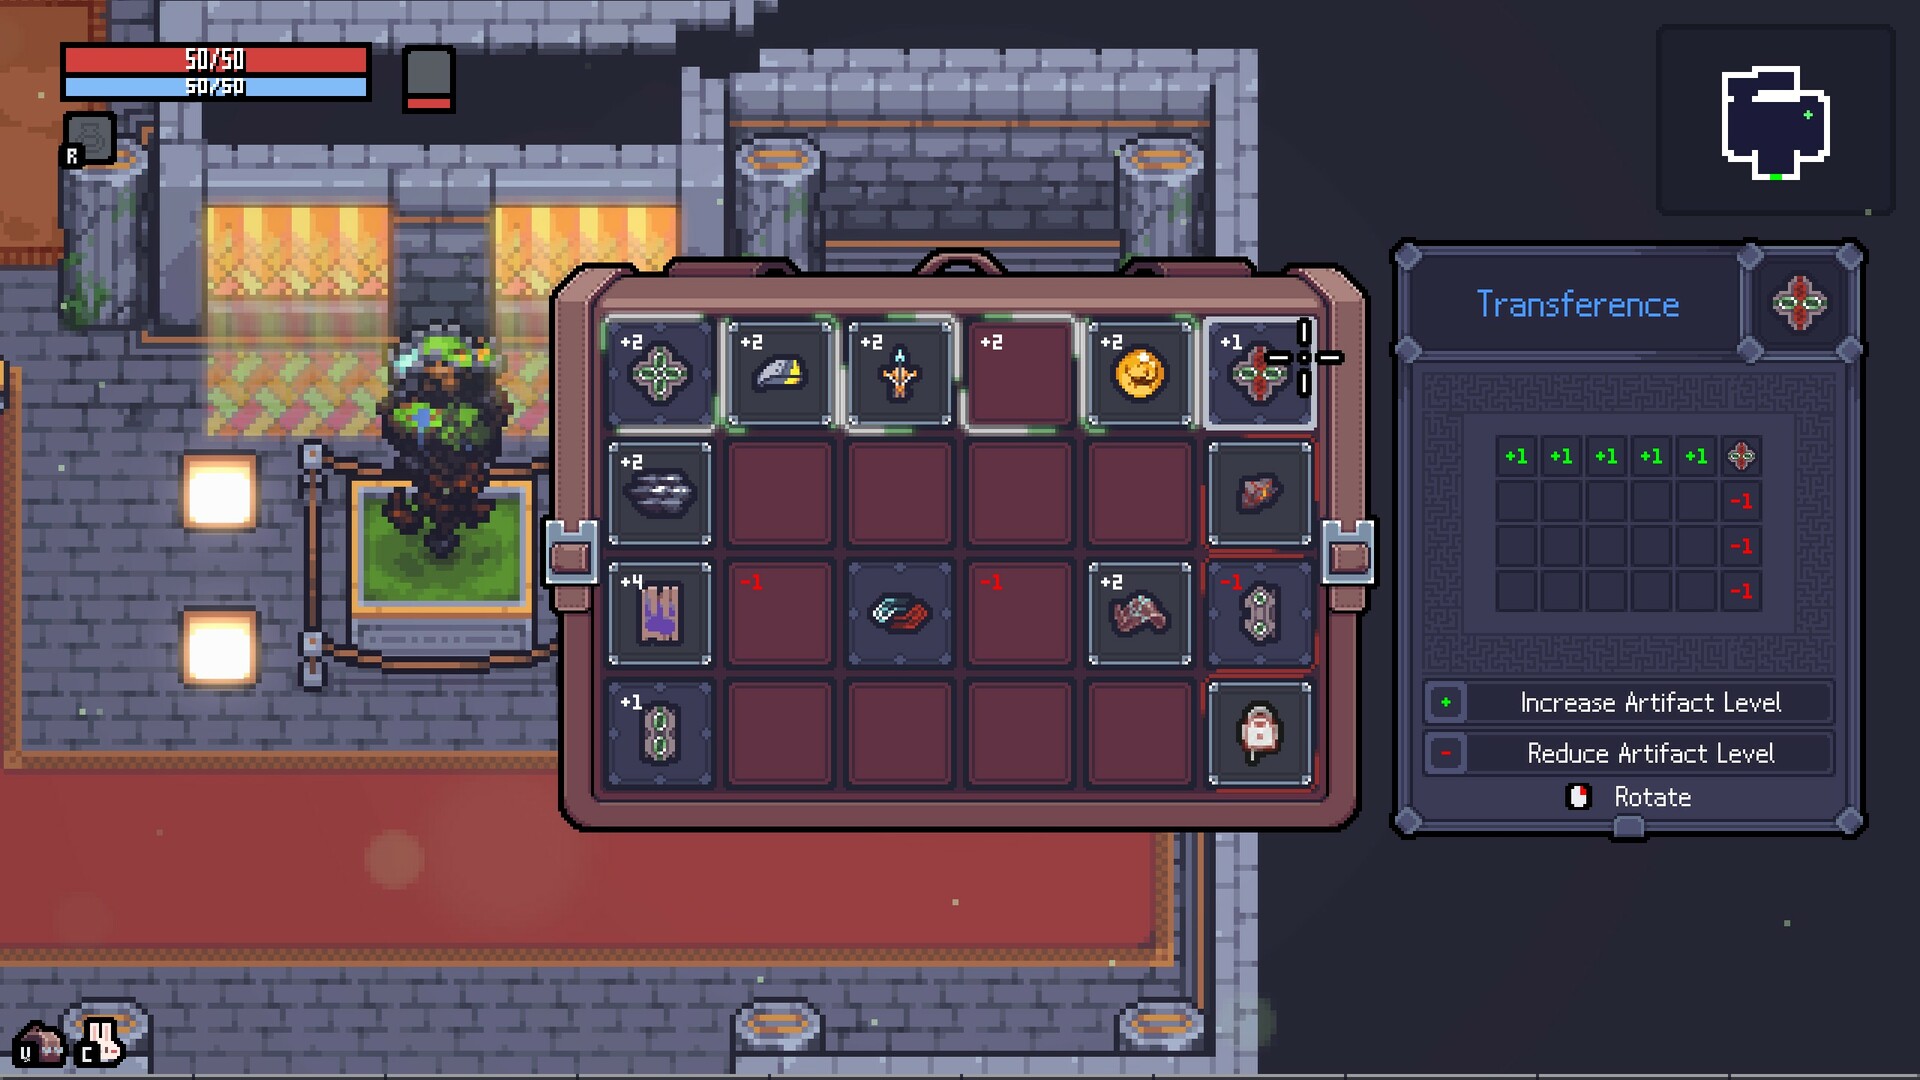
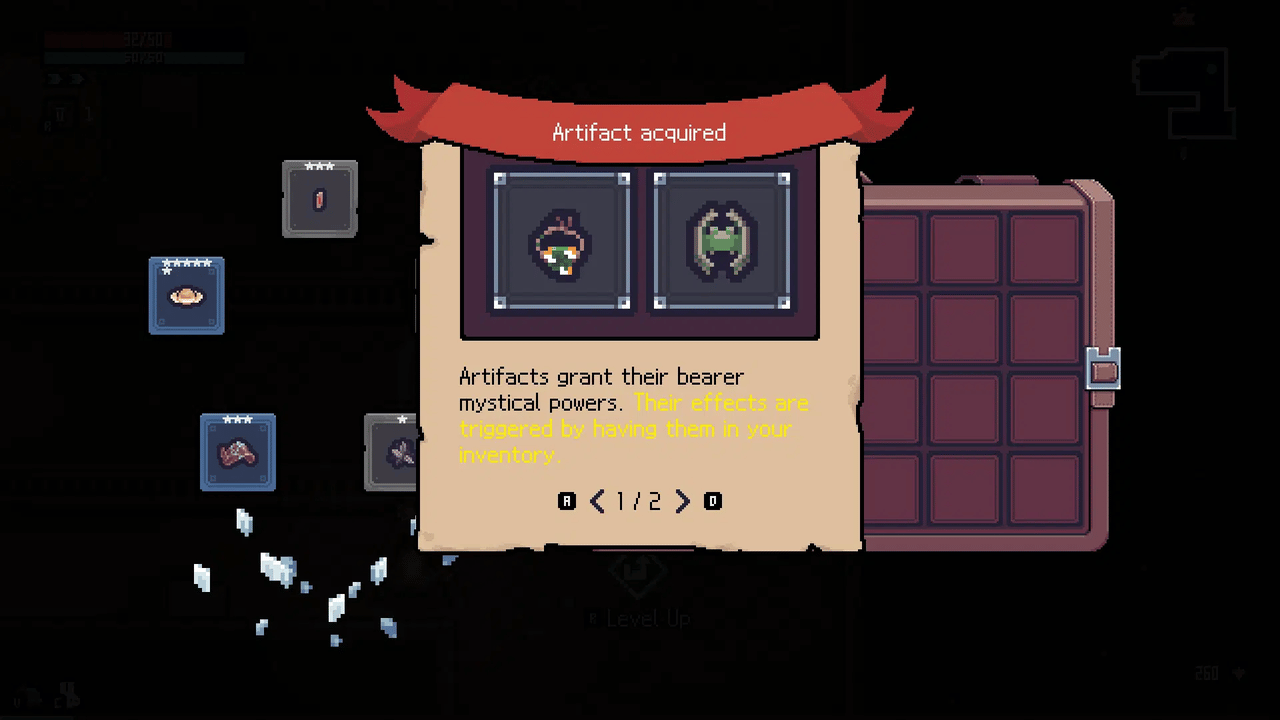
Every artifact: effects, categories, combo interactions, and grid placement recommendations in one searchable database.
4-player team compositions, role distribution, and synergistic builds that make multiplayer a breeze.
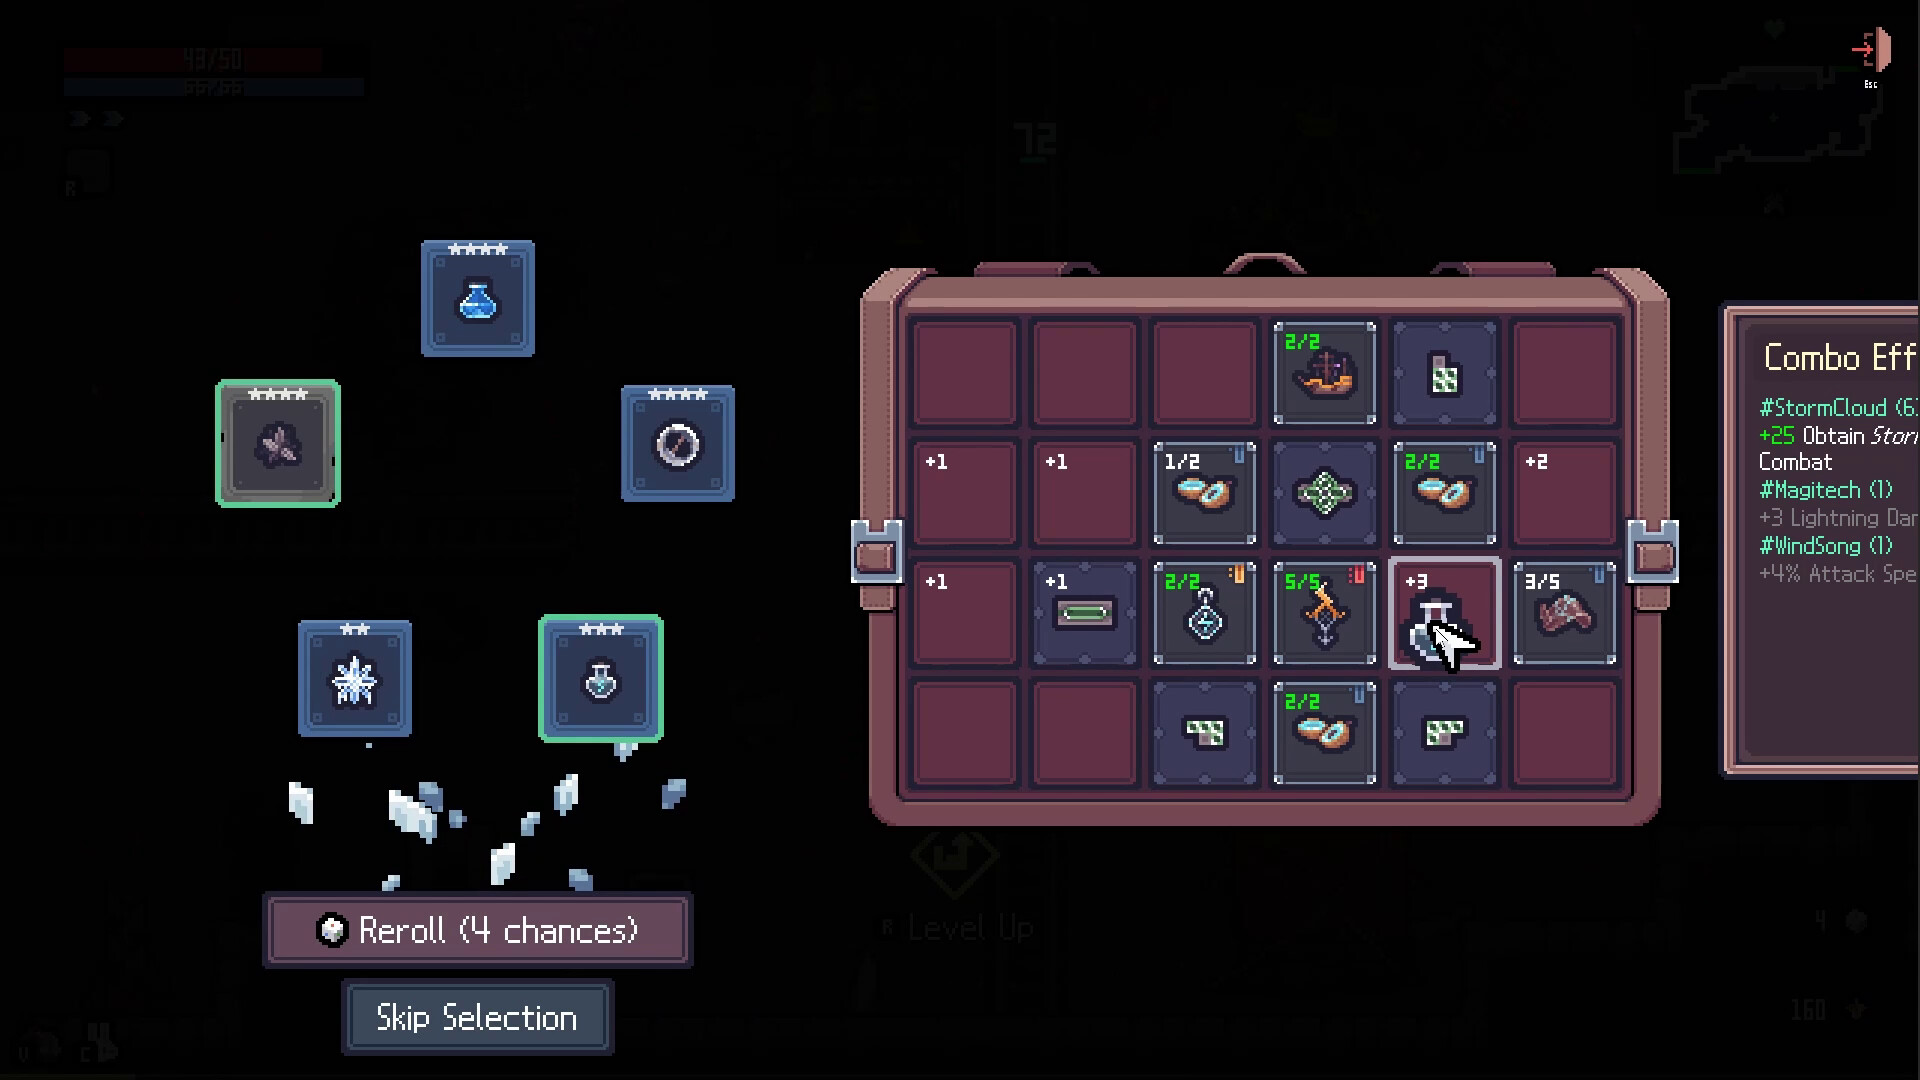
How fate sigils unlock and combine, and where talent points are best spent for endgame.
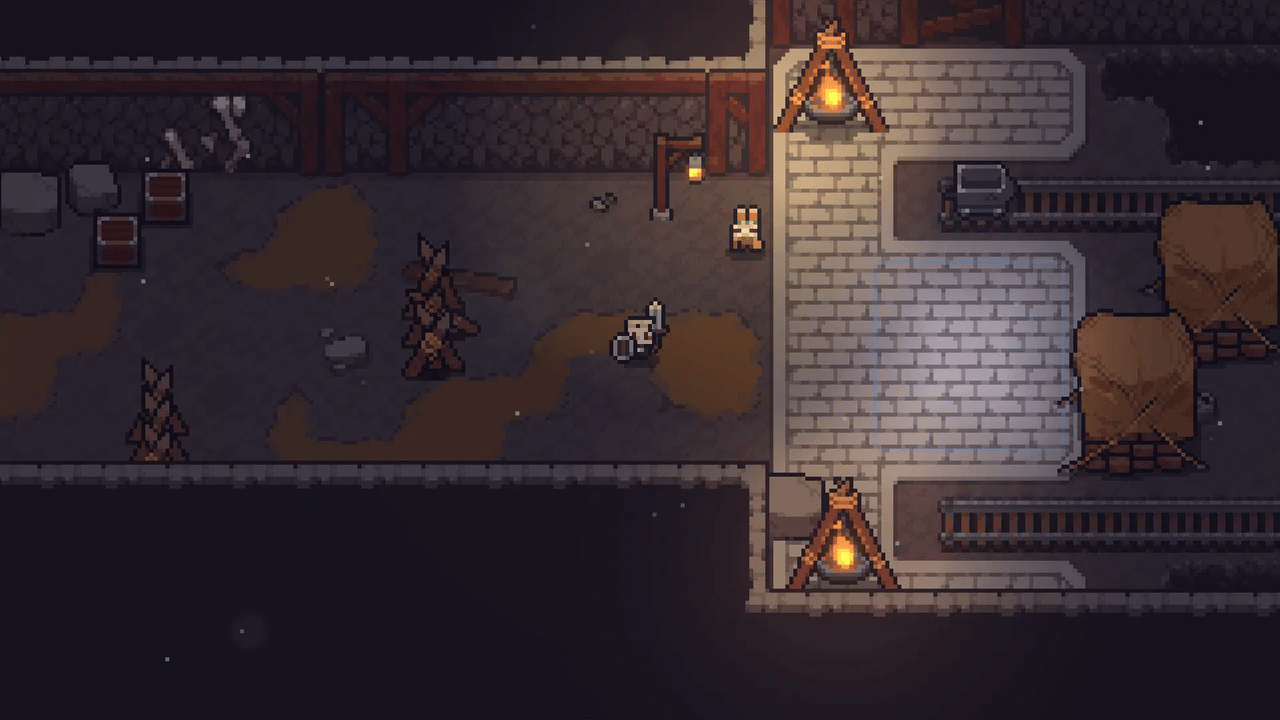
A community-documented Stage 60 clear: step-by-step setup and execution.
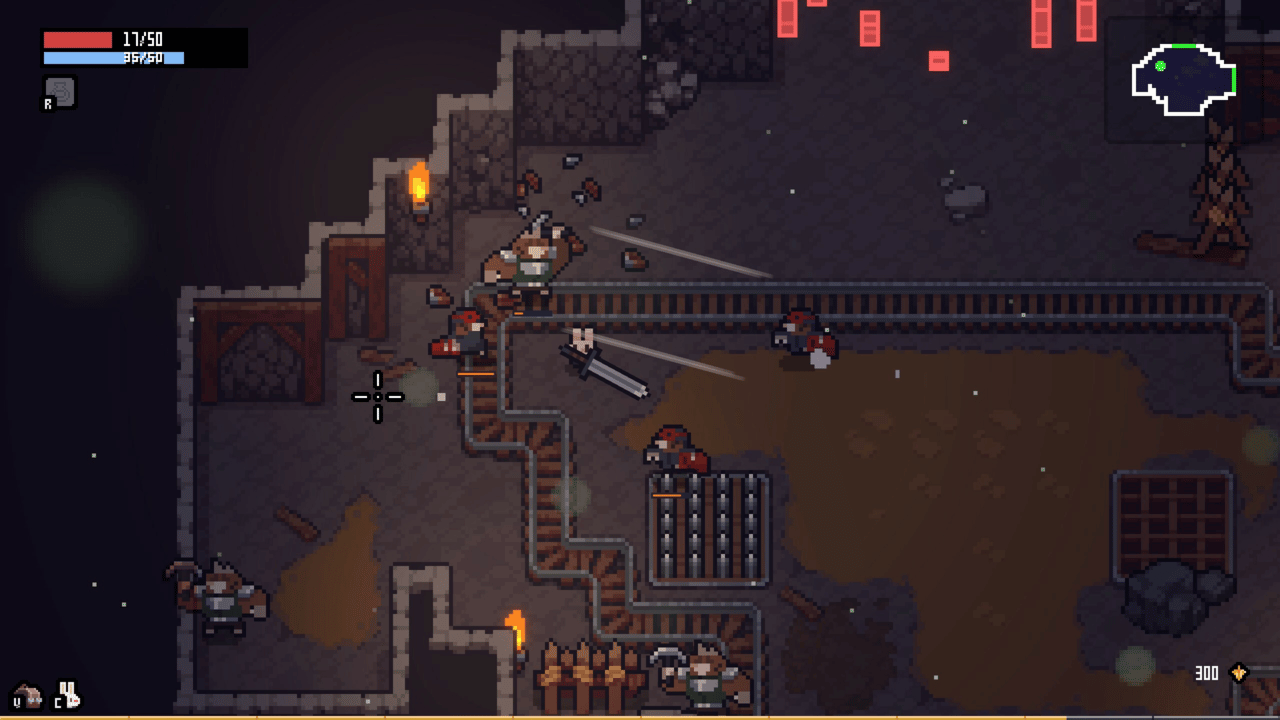
Tablets decide whether a build multiplies or stalls: adjacency rules, coverage lines, and placement order.
Start your journey here
Everything you need before your first run: weapon selection, basic mechanics, inventory grid basics, and survival tips.
How Sephiria's grid works: polyomino shapes, tablet adjacency, dead cells, and the combo families worth committing to.
All 6 weapons ranked from S to C tier. Upgrade paths, best artifacts for each weapon, and Hard Mode loadouts.
Every weapon's upgrade tree explained. Which upgrades are essential, which to skip, and how to maximize each weapon's potential.
A Staff build from first drop to Hard Mode: elemental combos, upgrades worth taking, and the grid lines that keep AoE online.
Every artifact catalogued. Best combos by weapon, tablet placement strategies, and Hard Mode survival picks.
Every artifact: effects, categories, combo interactions, and grid placement recommendations in one searchable database.
Tablets decide whether a build multiplies or stalls: adjacency rules, coverage lines, and placement order.
Every boss ranked by difficulty. Attack patterns, weaknesses, recommended builds, and chapter-by-chapter strategies.
Every Hard Mode boss difference: new attack patterns, extra phases, and updated strategies for all 6 chapter bosses.
4-player team compositions, role distribution, and synergistic builds that make multiplayer a breeze.
A stable solo build for clearing all six chapters: weapon choice, artifact lines to commit to, and when to reset instead of push.
A high-risk, high-reward build: maximum damage with no defense, for players chasing the fastest clears.
All 18 challenge modifiers explained, stage progression, recommended builds per tier, and Stage 60+ push strategy.
A community-documented Stage 60 clear: step-by-step setup and execution.
Stage-by-stage breakdown of all 6 tiers. Recommended builds for each tier, and strategy for pushing to Stage 60+.